How to Connect Apple Pencil to iPad: A Comprehensive Guide
If you’re the proud owner of an iPad and an Apple Pencil, you’re about to unlock a whole new level of productivity, creativity, and fun. Connecting your Apple Pencil to your iPad is a straightforward process, but it’s essential to understand the steps and features involved to make the most of this powerful tool. This guide will walk you through everything you need to know about how to connect Apple Pencil to iPad, ensuring that you get the best possible experience from your device.
Understanding the Apple Pencil and iPad Compatibility
Before diving into the connection process, it’s important to know that not all Apple Pencils are compatible with all iPads. There are two generations of Apple Pencil, and each generation works with specific iPad models. Here’s a quick rundown:
Apple Pencil (1st generation): Compatible with iPad models that have a physical Home button, such as the iPad (6th generation and later), iPad Air (3rd generation), iPad 10th generation , and iPad mini (5th generation).
Apple Pencil (2nd generation): Compatible with iPad models that have flat edges and support wireless charging, such as the iPad Pro (11-inch, 1st and 2nd generation), iPad Pro (12.9-inch, 3rd and 4th generation), and iPad Air (4th generation).
Unboxing and Preparing Your Apple Pencil
Before you start the connection process, make sure your Apple Pencil is ready to go:
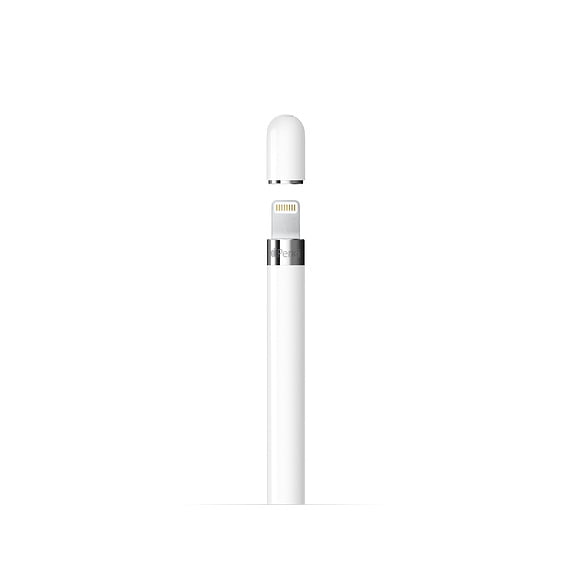
- Apple Pencil (1st generation): Comes with a removable cap on the end that hides a Lightning connector.
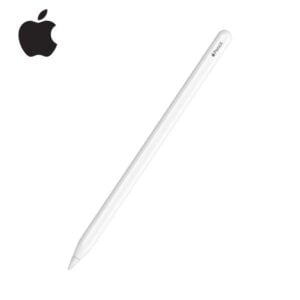
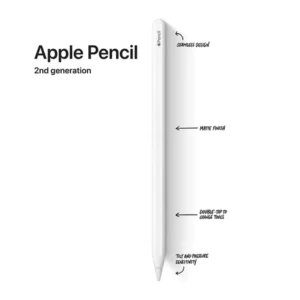
- Apple Pencil (2nd generation): Features a flat edge with a magnetic charging area.
For the 1st generation Apple Pencil, ensure that it’s charged. For the 2nd generation, it charges wirelessly and pairs automatically with your iPad when attached to the magnetic connector.
How to connect Apple Pencil to iPad (1st generation )
Step 1: Remove the Cap and Plug In
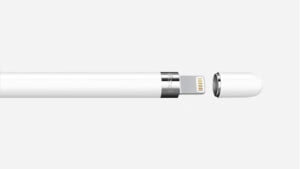
- Remove the Cap: Gently pull off the cap from the end of the Apple Pencil to reveal the Lightning connector.
- Plug In the Pencil: Insert the Lightning connector of the Apple Pencil into the Lightning port on your iPad.
Step 2: Pair the Apple Pencil
- Pairing Prompt: Once connected, a prompt will appear on your iPad screen asking you to pair the Apple Pencil. Tap Pair to complete the process.
- Charging: The Apple Pencil will start charging while connected. Once fully charged, you can remove it from the Lightning port.
Step 3: Test the Connection
- Open an App: Open any app that supports Apple Pencil, such as Notes or Procreate.
- Start Drawing: Try drawing or writing with your Apple Pencil to ensure it’s working correctly.
How to connect Apple Pencil to iPad (2nd Generation)
Step 1: Attach the Pencil to Your iPad
- Find the Magnetic Connector: Locate the flat edge of your iPad where the Apple Pencil attaches magnetically.
- Attach the Pencil: Place the flat edge of the Apple Pencil against the magnetic connector on your iPad. The pencil should snap into place.
Step 2: Pair the Apple Pencil
- Automatic Pairing: Unlike the 1st generation, the Apple Pencil (2nd generation) pairs automatically when attached to the magnetic connector. A pairing prompt will appear on the screen.
- Charging: The Pencil will begin charging wirelessly as soon as it attaches.
Step 3: Test the Connection
- Open an App: Similar to the 1st generation, open an app that supports Apple Pencil.
- Start Drawing: Ensure that the Apple Pencil is working by drawing or writing in the app.
Troubleshooting Common Issues
If you encounter issues while trying to connect your Apple Pencil, here are some troubleshooting tips:
Apple Pencil Not Pairing:
- Check Compatibility: Make sure your iPad model is compatible with your Apple Pencil.
- Restart Your iPad: Sometimes a simple restart can fix connectivity issues.
- Check for Updates: Ensure your iPad is running the latest version of iOS or iPadOS.
Apple Pencil Not Charging:
- Inspect the Connections: For the 1st generation, make sure the Lightning connector is free of debris. For the 2nd generation, ensure the Pencil is properly aligned on the magnetic connector.
- Try a Different Port or Charger: If using the Lightning connector, try a different Lightning port or adapter.
Apple Pencil Lag or Unresponsiveness:
- Check Battery Level: A low battery can cause lag or unresponsiveness. Charge your Apple Pencil fully.
- Re-pair the Pencil: For the 1st generation, try un-pairing and re-pairing the Pencil. For the 2nd generation, remove and reattach the Pencil.
Features of Apple Pencil
Apple Pencil (1st Generation)
- Precision: The 1st generation Apple Pencil provides high precision for drawing and note-taking.
- Pressure Sensitivity: It supports pressure sensitivity, allowing for varying line thicknesses.
- Tilt Sensitivity: You can tilt the Pencil to create shading effects.
Apple Pencil (2nd Generation)
- Magnetic Charging: Charges wirelessly and pairs automatically when attached to the iPad.
- Flat Edge Design: The flat edge allows for easy attachment and prevents rolling.
- Double-Tap Functionality: The 2nd generation includes a double-tap feature that lets you switch between tools or adjust settings.
Apple Pencil Tips and Maintenance
- Replaceable Tips: The Apple Pencil tips are replaceable. When they become worn out, you can buy replacement tips to maintain precision.
- Keep It Clean: Regularly clean the tip of your Apple Pencil with a soft, dry cloth to avoid any build-up that might affect performance.
- Store Properly: Store your Apple Pencil in a safe place when not in use to avoid damage. For the 1st generation, keep the cap on to protect the Lightning connector.
Connecting your Apple Pencil to your iPad is a simple process that can significantly enhance your digital experience. Whether you’re sketching, taking notes, or navigating through apps, the Apple Pencil provides an intuitive and precise way to interact with your iPad. By following the steps outlined in this guide, you’ll be able to set up and use your Apple Pencil effectively, making the most of its features and capabilities.
If you encounter any issues, don’t hesitate to consult Apple’s official support or forums for additional help. Happy drawing, writing, and creating!
References
- Apple’s official Apple Pencil support page – For the latest information and troubleshooting tips.
- iPad and Apple Pencil Compatibility – Detailed compatibility list for different iPad models and Apple Pencil generations.
